Understanding Radon in Basement Risks and the Right Fixes
If you live in York County, Pennsylvania, you probably know someone who has tested their basement for radon. Maybe you have done it yourself. The test kit arrives in the mail, you hang it in the lowest lived-in level of the house, and a few days later you get a number. That number tells you the average radon level in your basement. If it is above 4 picocuries per liter, the United States Environmental Protection Agency recommends you take action.
But what does that action look like? And why does radon in basement spaces behave so differently from one house to the next? I have worked in this field long enough to see the same questions come up again and again. People want to know if it is safe, what the fix costs, and whether they can do it themselves. The honest answer is that mitigation is not a one-size-fits-all job. It depends on the foundation type, the soil under the house, and even the weather on the day you test.
Radon is a radioactive gas that comes from the natural decay of uranium in soil. It moves up through the ground and into the air we breathe. When a house sits on top of that soil, the gas can seep through cracks in the concrete slab, through gaps around pipes, through sumps or floor drains, and even through the pores of concrete itself. The stack effect inside a warm house pulls air from the ground up through the building. That is why radon in basement levels tends to be highest, especially during the heating season when the indoor air is warmer than the outdoor air.
I have been inside hundreds of crawl spaces and basements across York County. Some are dry and clean. Others are damp with a lazy gutter around the perimeter that never really drains. In every case, the first step is to understand the pressure difference between the soil under the slab and the indoor air. That difference is what drives the gas indoors. Barometric pressure changes outside can make that difference larger or smaller from day to day. That is why a single short-term test can give a reading that is lower or higher than the annual average.
How Radon Gets Into Your Basement
The soil under a house is like a sponge full of radon gas. The house acts like a vacuum cleaner, sucking that gas in through any opening it can find. The main entry points are:
- Cracks in the concrete slab or the foundation walls
- Openings around utility penetrations like pipes and wires
- Sump pump pits that are not sealed
- Floor drains that connect directly to the ground
- Exposed soil in crawl spaces
Sealing those openings is part of the solution, but it is rarely enough on its own. Caulk and foam can reduce the amount of air leaking through, but they cannot stop the pressure that is pulling the gas. That is where a mitigation system comes in.
The Most Common Fix: Sub-Slab Depressurization
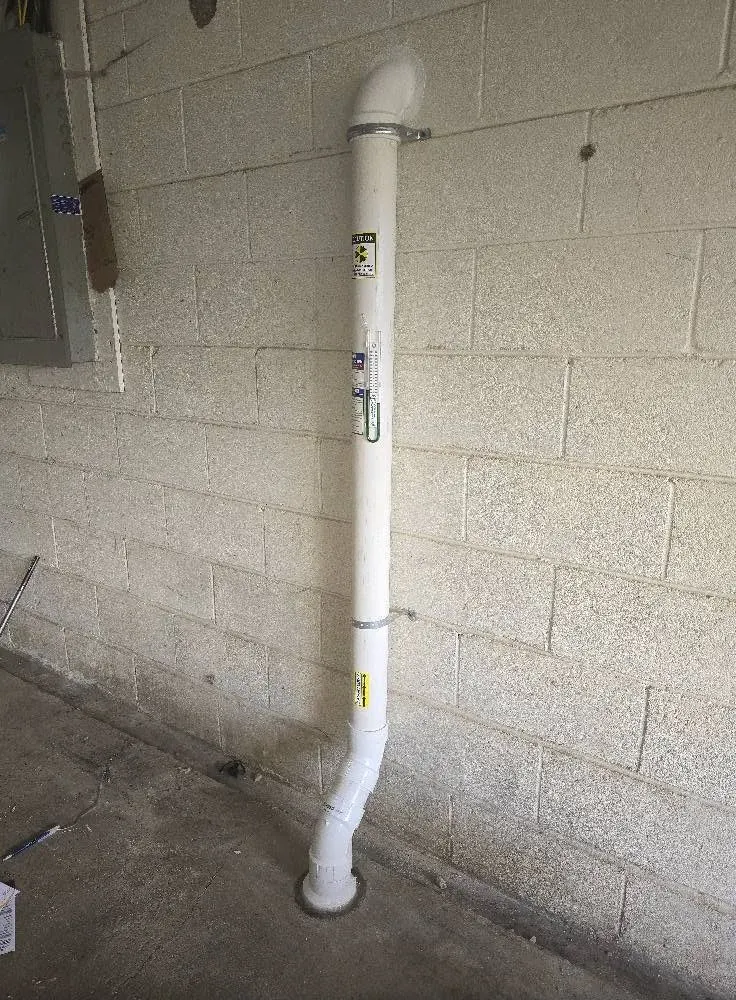
The standard method for reducing radon in basement levels is sub-slab depressurization. It works by creating a low-pressure zone under the concrete slab so that the gas is pulled away from the house and vented outside. A technician drills a hole through the slab, digs a small suction pit in the gravel below, and installs a pipe that runs up through the house to the roof. A radon fan mounted on that pipe, usually in the attic or outside, creates the suction.
I have installed these systems in houses built on everything from clean river gravel to heavy clay. The gravel layer under the slab is what makes the system work. If the house sits on a slab poured directly on soil with no gravel, the suction can only pull from a small area around the suction pit. That means multiple suction points may be needed. In those cases, the job becomes more complex and the cost goes up.
Another variable is the radon pump itself. The fan must be sized to the pipe diameter, the length of the run, and the resistance of the soil. A fan that is too weak will not create enough vacuum. A fan that is too powerful can waste energy and create noise. Most contractors use a manometer to measure the pressure difference across the system and adjust accordingly.
Why Testing Matters More Than Once
I recommend that every homeowner test their basement at least twice, once in the heating season and once in the summer. A single radon test kit gives you a snapshot, but the real picture is the average over a full year. If you are buying a house, ask for a long-term test that runs for at least 90 days. Better yet, use a continuous radon monitor that logs readings every hour. Those monitors can show you how levels change with the weather, how they respond to the furnace running, and whether the mitigation system is working consistently.
The American Lung Association has done excellent work raising awareness about radon exposure and lung cancer risk. They recommend testing all homes, regardless of whether you think there is a problem. In Iowa, for example, the geology produces some of the highest radon levels in the country. Many Iowa homes have radon concentrations that would require mitigation even by the most relaxed standards. Here in Pennsylvania, we have our own hot spots, but the risk is real everywhere.
Radon-Resistant New Construction
If you are building a new home, you have a chance to prevent radon in basement problems before they start. Radon-resistant new construction is not expensive when it is done during the build. It usually includes a layer of gravel under the slab, a vapor barrier, a sealed sump pit if needed, and a passive pipe stub that can later be connected to a radon fan if testing shows a problem. That stub saves thousands of dollars later because the hardest part of mitigation is getting the pipe run through the finished house.
Some builders skip these steps to save a few hundred dollars. I think that is a mistake. The cost of retrofitting a mitigation system after the house is finished, with drywall up and flooring installed, can be three or four times the cost of doing it at the rough-in stage. And the peace of mind is worth something too.
What About Crawl Spaces?
Crawl spaces present a different challenge. Because there is no concrete slab covering the soil, the entire crawl space floor is a source of radon. The fix in those cases usually involves laying a heavy-duty vapor barrier over the exposed soil, sealing the edges against the foundation walls, and then venting the air under the barrier with a radon fan. It is a messy job. You have to crawl around in tight spaces, sometimes in damp conditions, and make sure the barrier is not torn or punctured after installation. But when done right, it can reduce radon levels just as effectively as sub-slab depressurization.
I once worked on a house where the crawl space had a dirt floor that had never been covered. The owners had lived there for twenty years and never tested. When they finally did, the radon in basement reading came back at 28 pCi/L. That is seven times the EPA action level. They had two young kids sleeping on the second floor, right above that crawl space. We installed a heavy vapor barrier, sealed it around the foundation walls, and ran a vent pipe up through an exterior wall. The post-mitigation test came back at 1.2 pCi/L. That family had been breathing high levels of radon for two decades without knowing it. Stories like that are why I do this work.
Choosing a Mitigation Contractor
Not every contractor who offers radon mitigation has the training or experience to do the job right. Some will quote a price over the phone without ever stepping foot in your basement. Others will install a system and never come back to verify that it works. I think you should look for someone who holds a certification from a recognized program, who uses calibrated test equipment, and who provides a written guarantee that the system will reduce radon levels below the EPA guideline.
Your local health department may have a list of certified contractors. Some states require licensing for radon mitigators. Pennsylvania does not, so it is up to you to do the homework. Ask for references. Ask to see the post-mitigation test results from recent jobs. A reputable contractor will share them without hesitation.
The cost of a mitigation system varies based on the foundation type, the number of suction points needed, and the difficulty of running the vent pipe. In York County, I have seen prices range from about $800 for a simple sub-slab system with a short pipe run to over $2,500 for a crawl space installation with a long pipe run through the attic. Transparent pricing means the contractor should be able to give you a firm quote after inspecting the site, not before.
Maintenance and Long-Term Performance
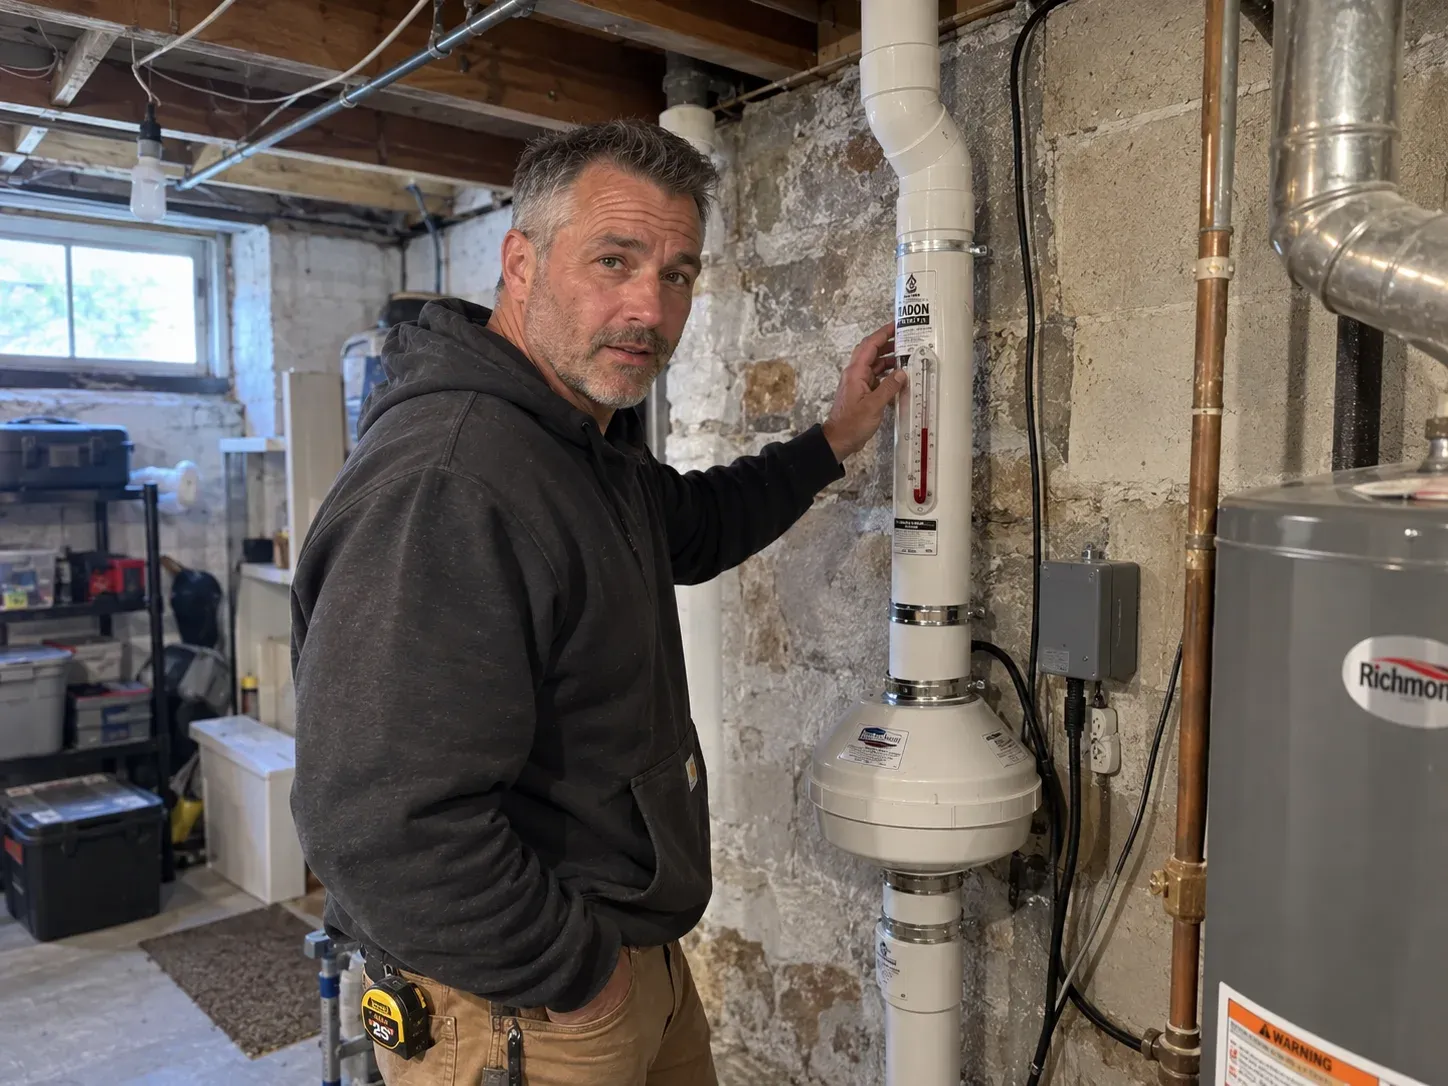
Once a mitigation system is installed, it needs very little maintenance. The radon fan runs continuously. Most fans have a manufacturer-rated lifespan of five to ten years. When the fan fails, the system stops working, so it is a good idea to check the manometer once a month to confirm the system is still pulling a vacuum. If the fluid levels in the manometer change, call your contractor.
I also recommend retesting your basement every two years or after any major renovation. Remodeling can change the air pressure dynamics in a house. Adding a new addition, finishing a basement, or replacing windows can all affect how radon moves indoors.
Understanding radon in basement spaces is not complicated, but it does require paying attention to details that many homeowners overlook. The soil under your house is not neutral. It is a source of gas that can accumulate to dangerous levels if the house is not built or retrofitted to manage it. The good news is that the technology to fix it is proven and the cost is reasonable. The bad news is that too many people never test, never fix, and never realize what they are breathing.
If you have not tested your basement yet, pick up a radon test kit from your local hardware store or order one online. It costs about the same as a pizza delivery. The result could tell you something that matters for your health and your family’s health for years to come.